How to create a website for free with Mixo?
In this article, we will cover off the basics on how to use Mixo if you are starting from scratch. If you follow the activity in this document, you may just go from zero to something meaningful in no time. So, let’s get started.
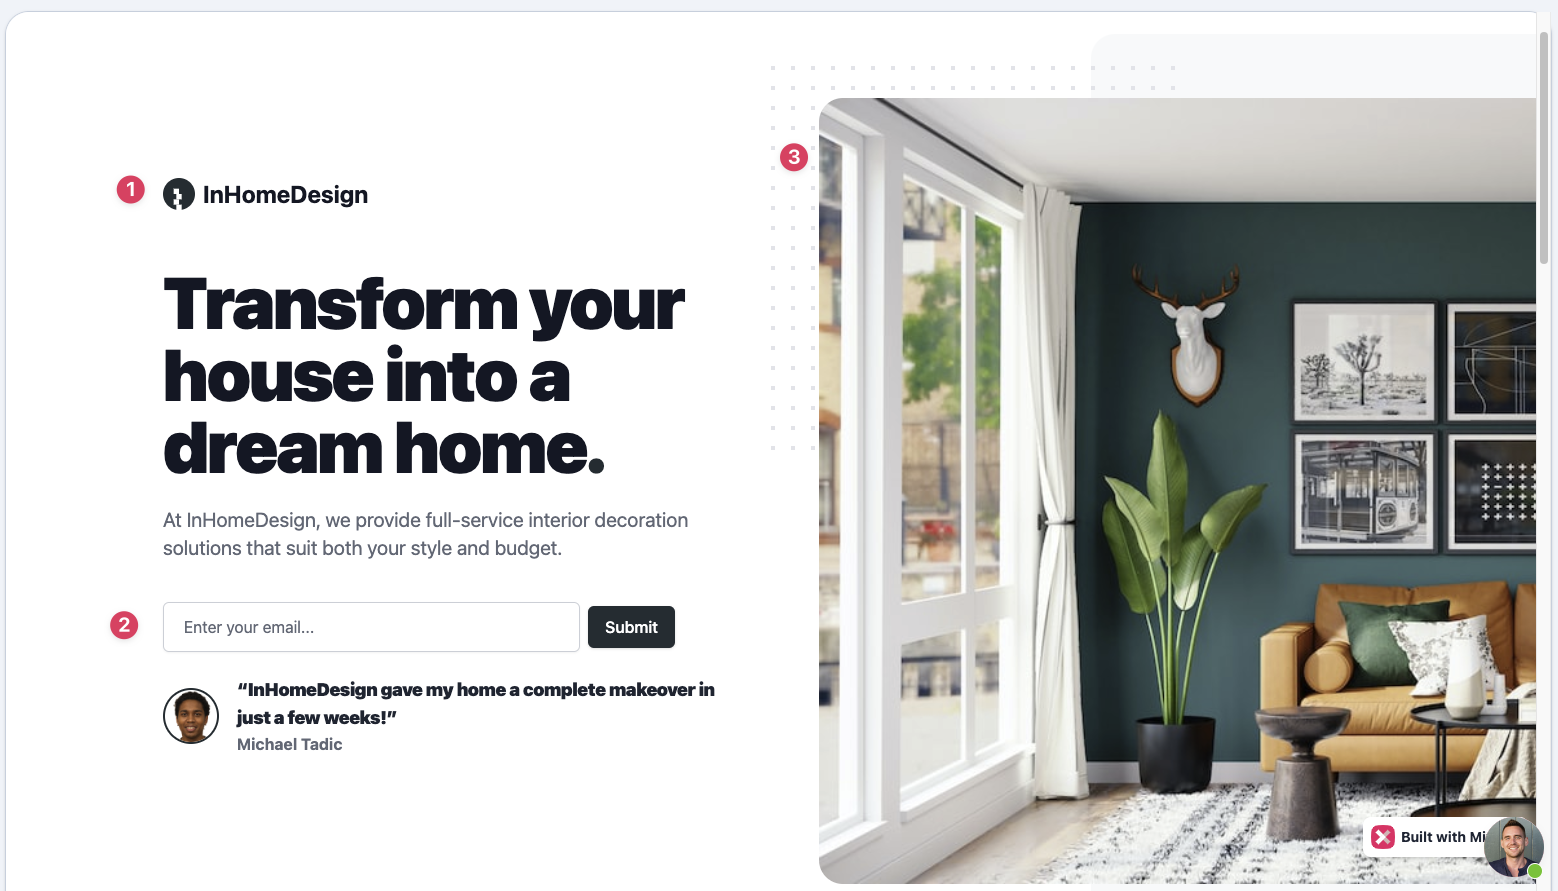
Generate a website in seconds
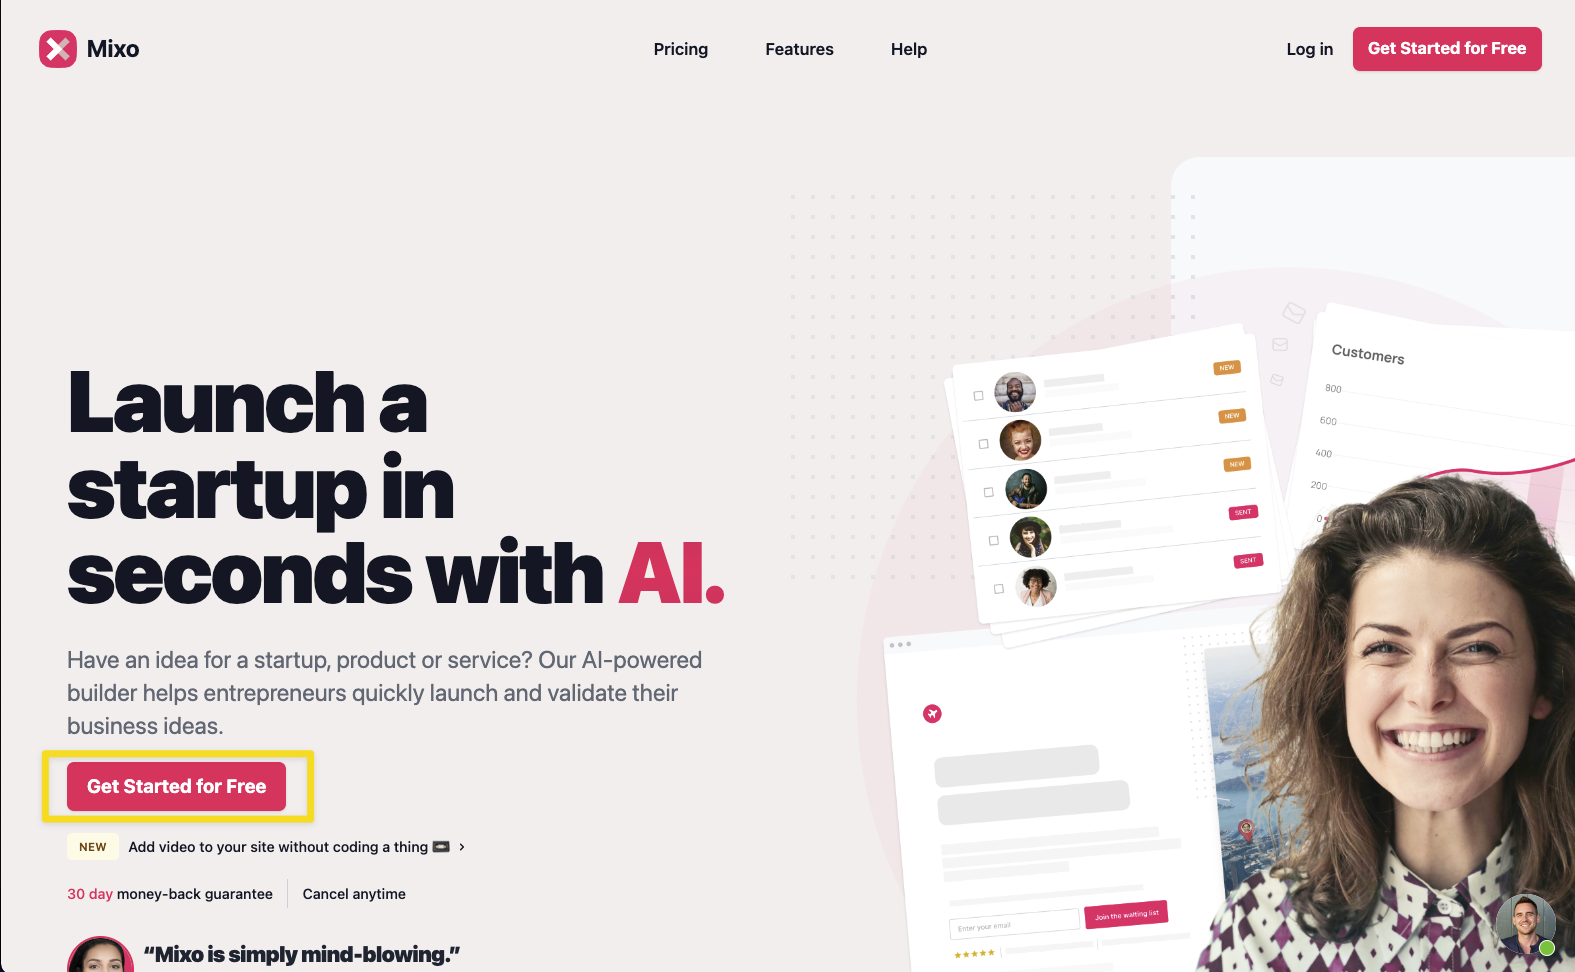
- On the homepage, click on one of the Get Started buttons to go to the generator
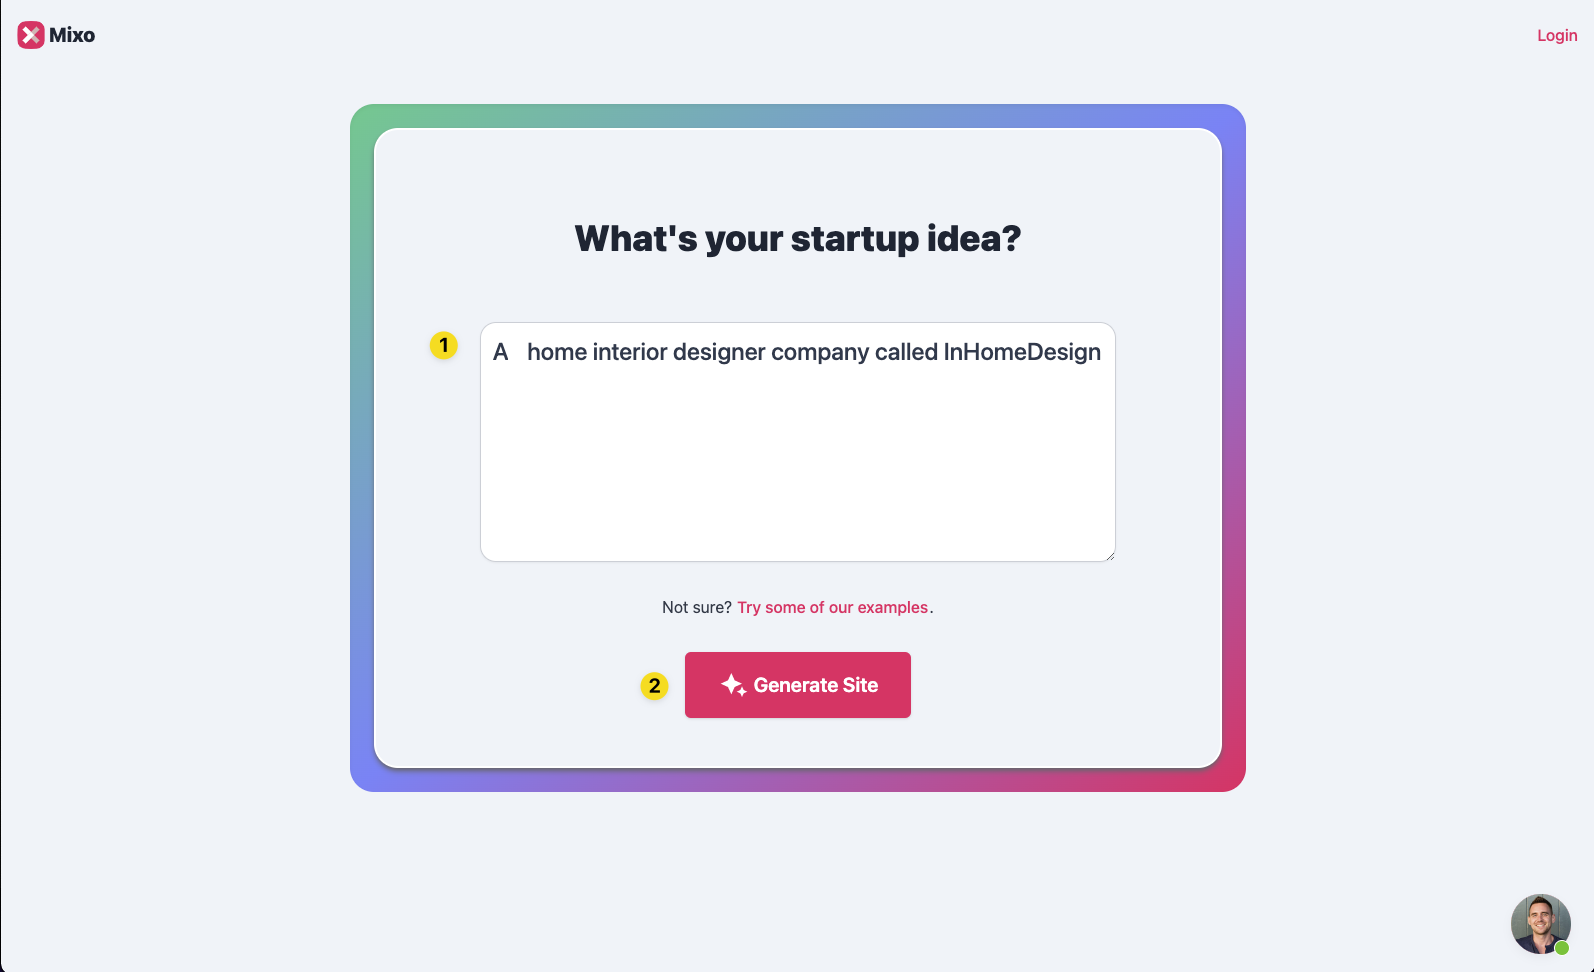
- Enter an idea for a business. It’s important to word this in the form of a concept or business idea. For example, “an online hairdressing service” would have better result than “haircare”. The more specific you can be the better.
-
Once the AI generates you a concept, click “Save and Customize” to save it to your account. You may be asked to sign up / log in at this point.
-
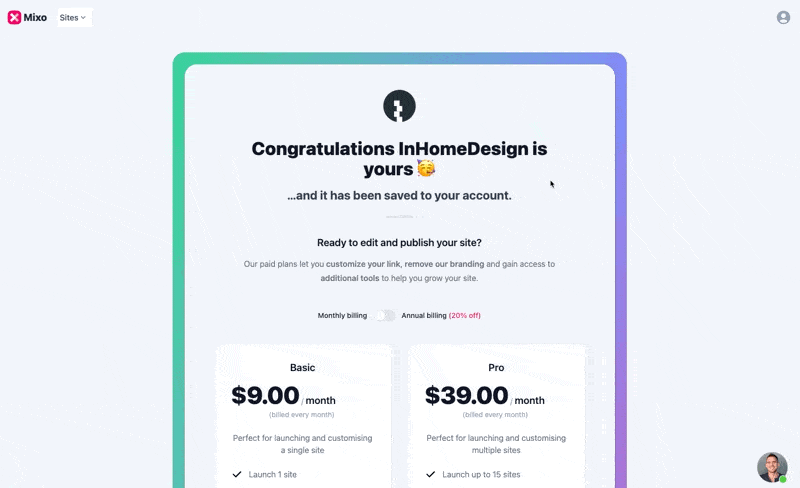
Next you will be presented with confirmation and the ability to upgrade or continue on the free plan. The benefit of upgrading at this point is you will get access to additional editor tools (like embedding videos) and customizing your URL. If you wish to continue on the free plan scroll below the plans and click continue with free.
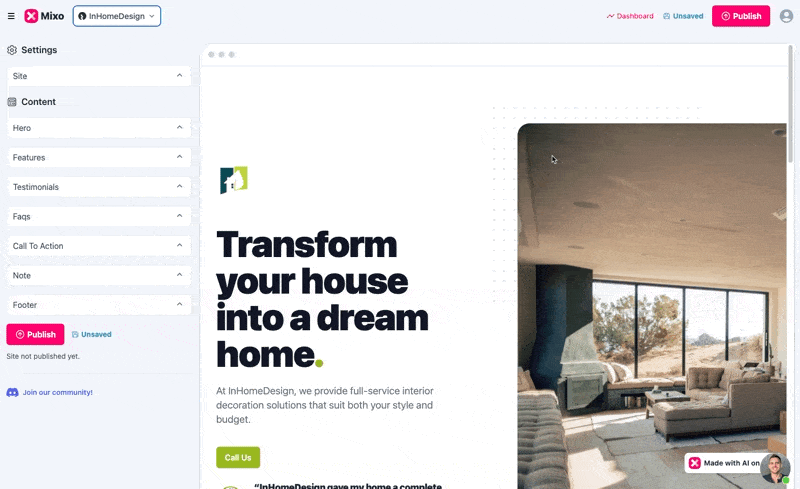
Editing the site
Now that we have generated a site and saved it, we get access to the Mixo editor that allows us to edit the content. The editor lets you make updates and shows you the results in realtime. To make updates you simply edit the content sections on the left-side and see the results on the right-side preview. When you’re happy with changes you can save or publish (publishing will copy turn your website into files and host them on a live server for you so you can share via a URL).
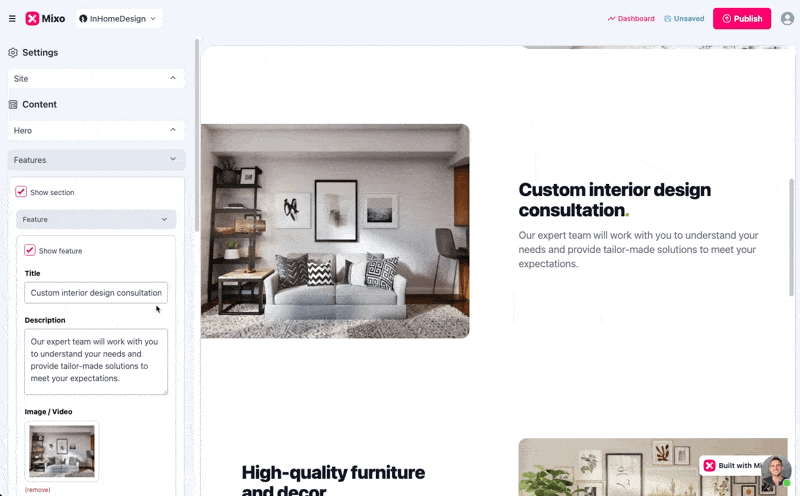
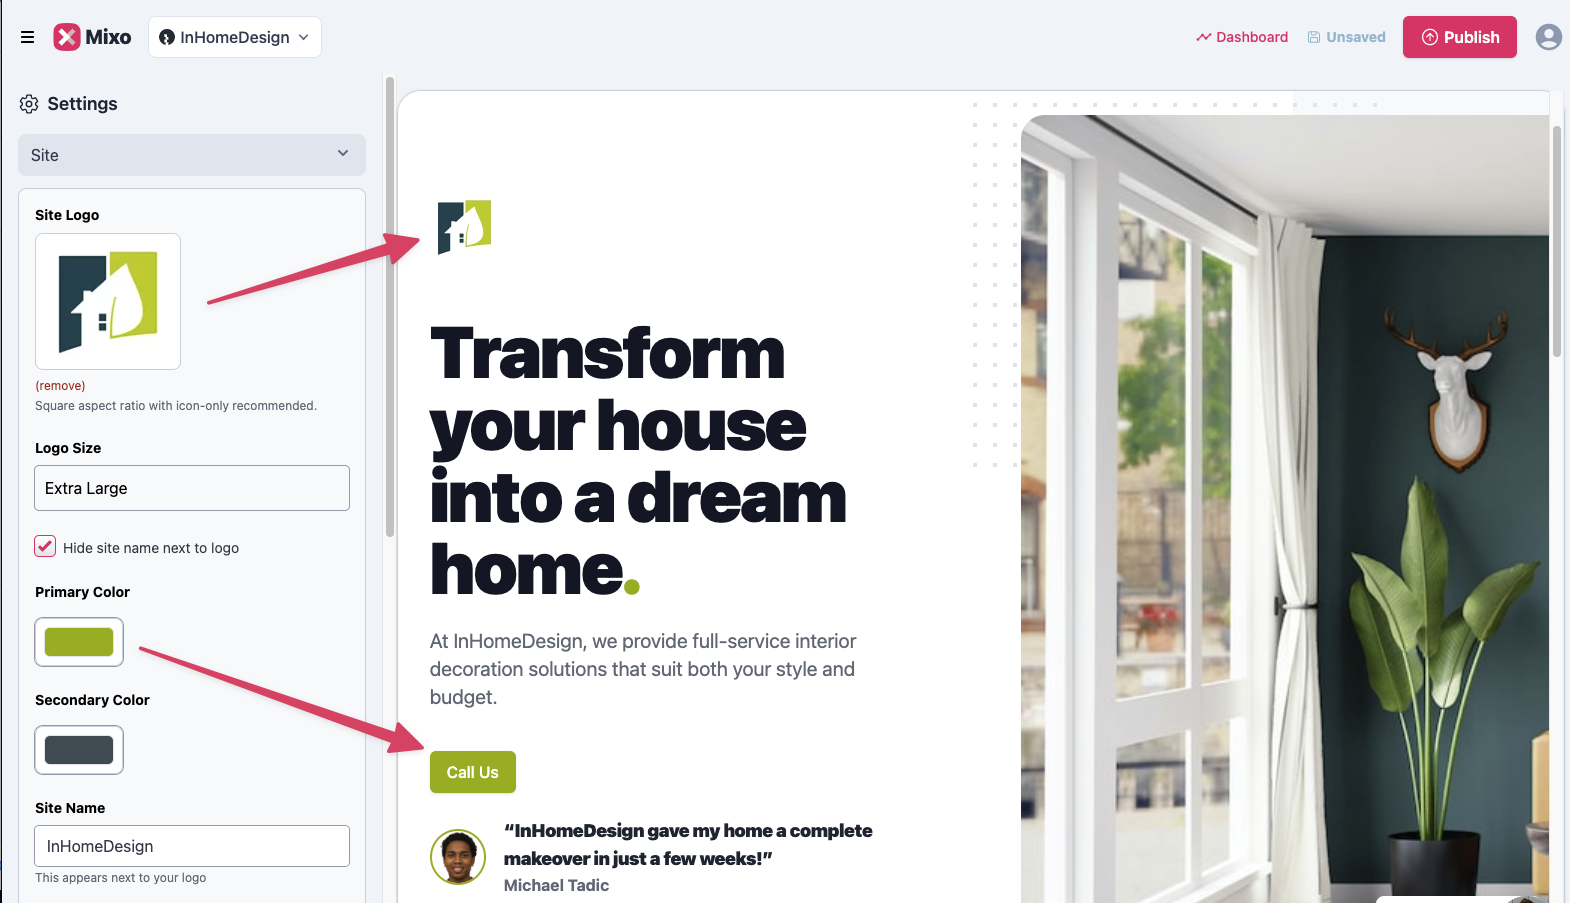
In this demo we are going to edit a couple things on the site that the AI generated us. As per the screenshot below, we want to change (i) the logo and colors (ii) update the call to action to a button (iii) choose our own images.
(i) Edit the logo and colors
Under Settings > Site, you can upload your own logo, change the size and update the primary colors of the site.
(ii) Update call to action
By default, the hero section will show a Signup Form. We can change this to a button. See example of how to change Signup for to a button to call phone number when clicked.
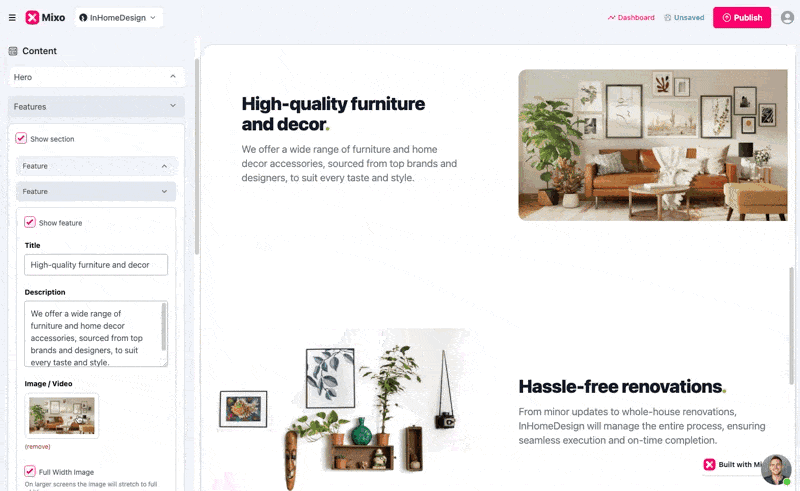
(iii) Change images
Lastly, in this demo we want to change some images. Simply locate the image you want to update in the sidebar, click and replace with another image. You can use Unsplash to search for Royalty Free images (image libraries that are free to use on your website).
Publish your site live
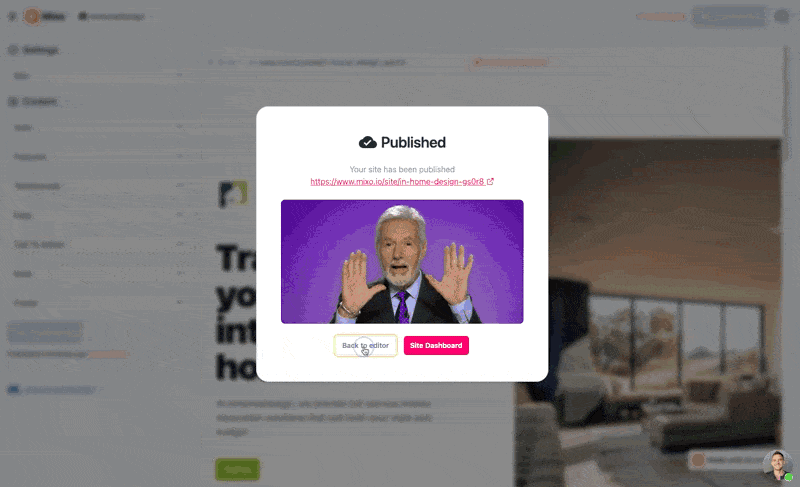
The final step on the free plan is the ability to publish and share you website with the world. As mentioned above, publishing means making your website live and accessible on the internet. It involves uploading all the files, images, and content to a web server and making it available to the public. Once a website is published, anyone can access it by typing its URL in a web browser. Publishing is the final step in the website building process and is essential for making your website visible to the world.
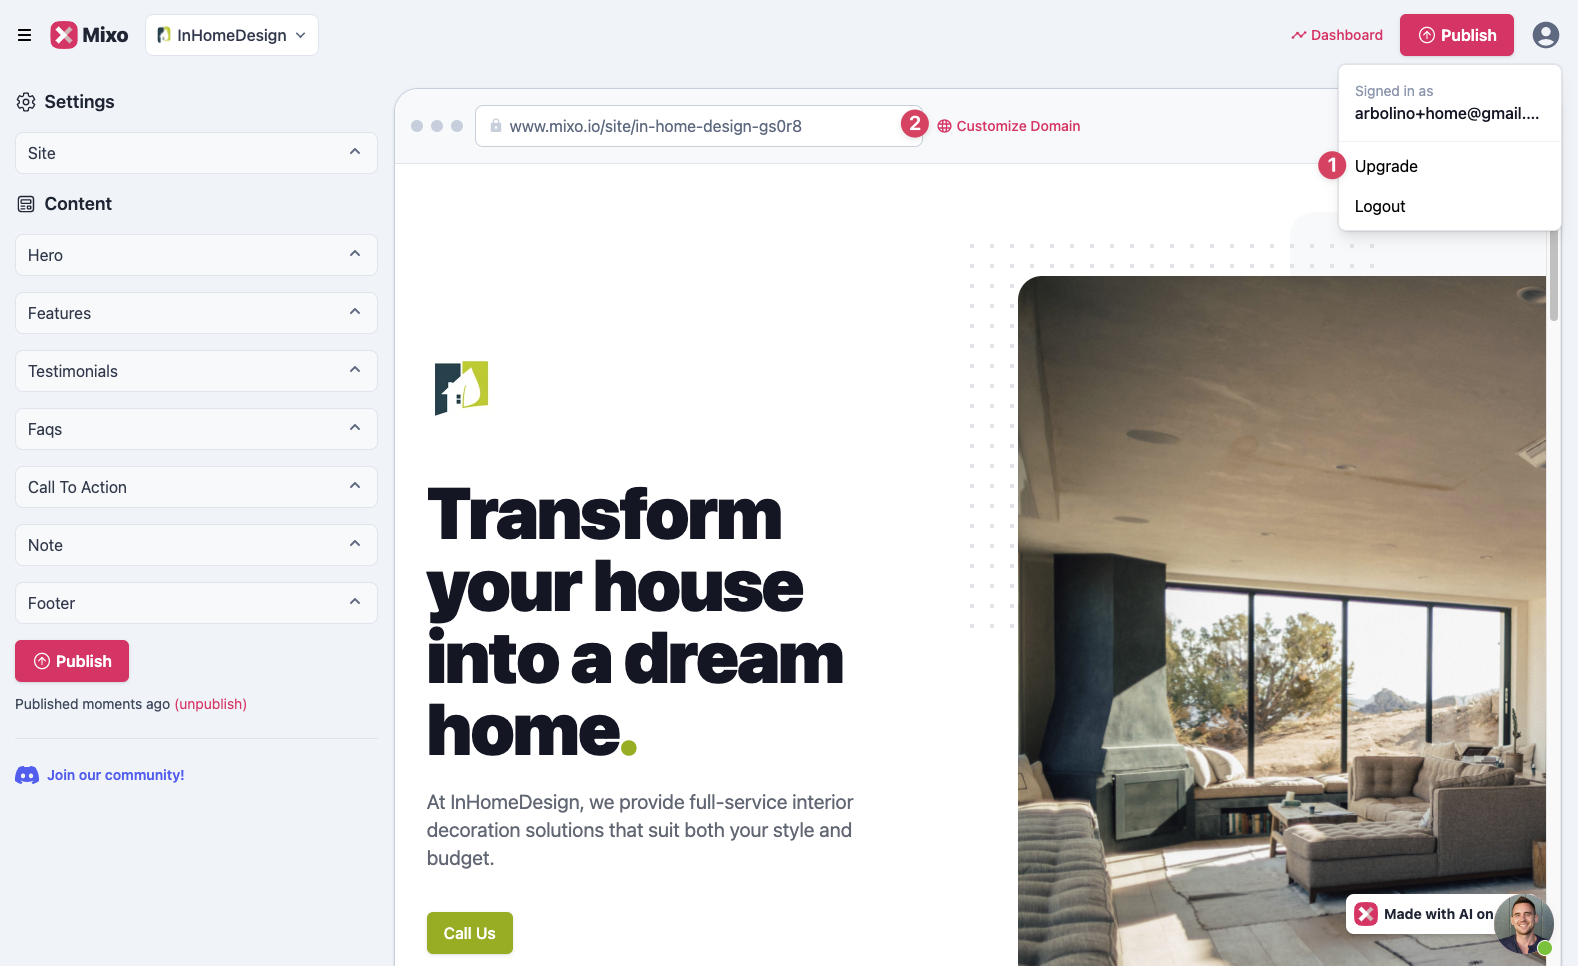
To do this, in the top right-corner of the editor, click Publish.
Once published, you should see a public url at the top of your** Editor preview** as well as on your sites dashboard.
Upgrading to paid plan
At this point, you are at the edges of what the free plan has to offer. To proceed further you will need to access one of our paid plans. To upgrade to a paid plan, simply click (1) Upgrade in the top right account menu or (2) functionality like customize domains which require upgrading will take you to the upgrade screen.
Benefits of paid plan vs free plan
Choosing a paid plan unlocks additional features and benefits such as:
-
Improved editor features like the ability to embed videos to your website to keep your audience engaged
-
The ability to customize your domain (site URL), so you can have a web address that’s unique to your brand.
-
Add tracking to your site, including Google Analytics and Meta (Facebook) pixel, which will allow you to track your website’s performance and optimize your marketing efforts.
-
Ability to add custom scripts on your site using Google Tag Manager. This is useful for adding chatbots to your website
-
Users with a paid plan are often given priority access to customer support, which can be especially helpful in case of technical issues.
-
Removal of Mixo branding, offering a cleaner and less distracting user experience.


Join our community of makers turning their ideas into startups.
“ I was creating many websites before using Wordpress and Joomla. Nothing was as fast as Mixo. The help with AI, the templates and automated guess what is good to present the brand is awesome. ” - Alexander Horvath